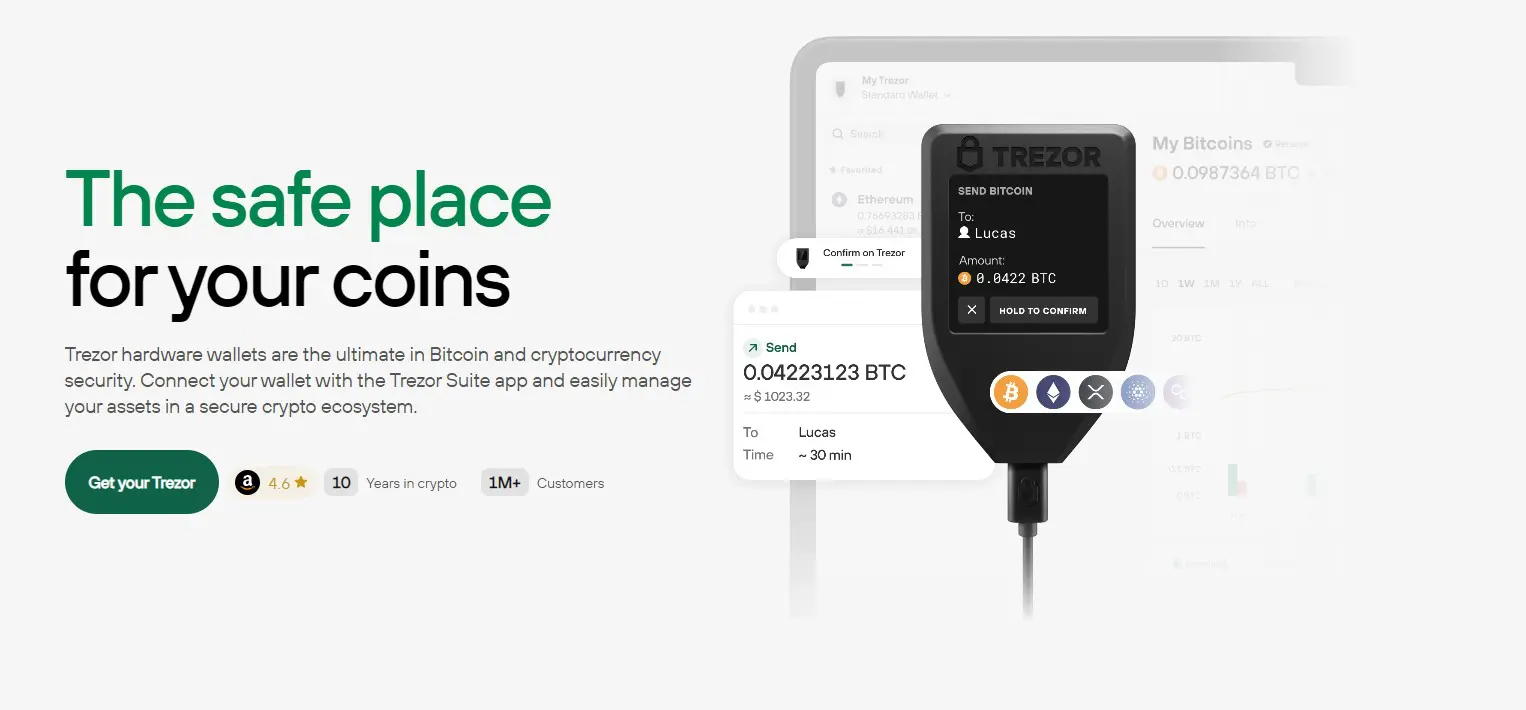
Start Your Trezor Journey
Welcome to the world of secure cryptocurrency storage. Follow our simple setup guide to initialize your Trezor hardware wallet and protect your digital assets.
Quick Setup Checklist

Welcome to the world of secure cryptocurrency storage. Follow our simple setup guide to initialize your Trezor hardware wallet and protect your digital assets.

Discover the benefits of using the most trusted hardware wallet in the cryptocurrency space
Your private keys never leave the device, ensuring complete protection against online threats and malware.
Get started in minutes with our intuitive setup process and straightforward initialization.
Store and manage Bitcoin, Ethereum, and over 1,000 other cryptocurrencies in one secure place.
Use your Trezor with Android devices via OTG connection for managing funds on the go.
Follow these steps to get your Trezor device ready for use
Carefully open your Trezor package and ensure all components are present: Trezor device, USB cable, recovery seed cards, and lanyard.
Learn moreConnect your Trezor to your computer using the provided USB cable. The device should power on automatically.
Learn moreDownload and install Trezor Bridge, the communication tool that allows your Trezor to work with web browsers.
Download nowFollow the on-screen instructions to set up your device, create a PIN, and write down your recovery seed.
Learn more